
You’ve made a great investment for your kitchen, but the work doesn’t stop when you’re done slicing. Slicers have intricate parts and sharp blades that require regular cleaning and maintenance to perform at their best and, more importantly, to keep them hygienic and safe.
While cleaning a slicer can seem daunting, it’s actually a simple process if you follow the right steps. This guide will walk you through everything from a quick everyday wipe to essential long-term maintenance.
Step 1: Safety First
Here are the golden rules for caring for your slicer. Before you touch anything, always, always, always follow these steps.
Unplug the power! This is non-negotiable. Before you begin any cleaning or maintenance work, unplug the machine from the wall outlet. This prevents any accidental startup.
To adjust thickness to zero: Retract the blade guard to its fully closed position. This protects your fingers from sharp edges while you clean.
Use cut-resistant gloves: While not necessary for every task, a good pair of cut-resistant gloves can provide you with extra protection when deep cleaning .
Daily cleaning:
Disassembly: Remove the food slides, hand guards, and any other removable parts.
Wipe: Use a damp cloth or paper towel to wipe off any large food particles from the blades and the body of the machine.
Sanitize: Use a food-grade disinfectant spray or wipe down all food-contact surfaces with a cloth dipped in warm, soapy water.
Dry thoroughly: This is a crucial step. Use a dry cloth to thoroughly dry each part. Any moisture left on the blade will cause rust.
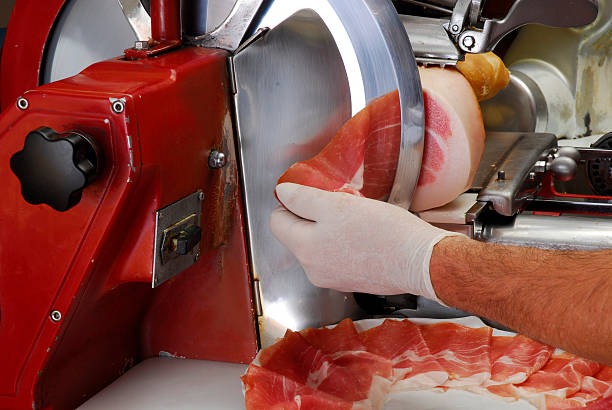
Deep Cleaning: A Weekly Ritual
Once a week (or after working with particularly messy ingredients), you’ll want to give your slicer a more thorough cleaning.
To remove the blade: With the machine powered off and the thickness setting at zero, carefully unscrew or unlock the blade. Most models have a central knob or several screws to secure it. Be extremely careful when handling the blade.
To clean removable parts: Wash the blades, food slides, and other parts with warm soapy water. Use a small brush to scrub the crevices to remove any stuck-on debris.
Clean the body of the machine: Use a disinfecting solution to clean the body of the slicer, especially the area behind the blade.
Rinse and Dry: Rinse all parts thoroughly with clean water and dry each piece completely before reassembling. Reinstall the blade and tighten.
Long-term maintenance: keep it in new condition
Proper maintenance can extend the life of your slicer and ensure it performs perfectly every time.
Lubrication: Regularly oil the slicer’s moving parts. Apply a small amount of food-grade lubricant to the bars of the food slide. This will keep the slicing action smooth and effortless.
Blade sharpening: Even the best blades will dull over time. Many slicers have built-in sharpeners. Consult your manual for the correct method; it usually involves running the blade over a whetstone for a few seconds. A sharp blade is not only more efficient, but also safer.
Proper Storage: When not in use, store the slicer in a clean, dry place. Consider purchasing a dust cover to protect it from dust and debris.
Summarize:
By taking a few minutes to clean and maintain it after each use, you can ensure that your slicer remains a safe, sanitary, and indispensable tool in your kitchen for years to come.
